Scratch 3.0 has standard extensions that work with micro: bit. However, the micro: bit functions that can be used are limited to tilt sensors, buttons, P0 ~ P2 terminal touch, and LED lighting from Scratch.
I asked the Scratch Team members before about the limitation, they said they wanted to avoid increasing the number of blocks as much as possible due to the philosophy of “low floor” (easy to get started).
Scratch, on the other hand, has the philosophy of “wide walls” (wide application range) and “high ceiling” (advanced programming). The appeal of micro: bit is related to small and inexpensive board,that equipped with various sensors and can also input and output digital and analog, I would like to use the full functions if possible.
In response to this demand, “Scratch-microbit-more” developed by Koji Yokogawa.
https://lab.yengawa.com/project/scratch-microbit-more/
On the other hand, an amazing extension that enables machine learning of images from Scratch with TensorFlow is “ML2Scratch” developed by Junya Ishihara.
https://github.com/champierre/ml2scratch
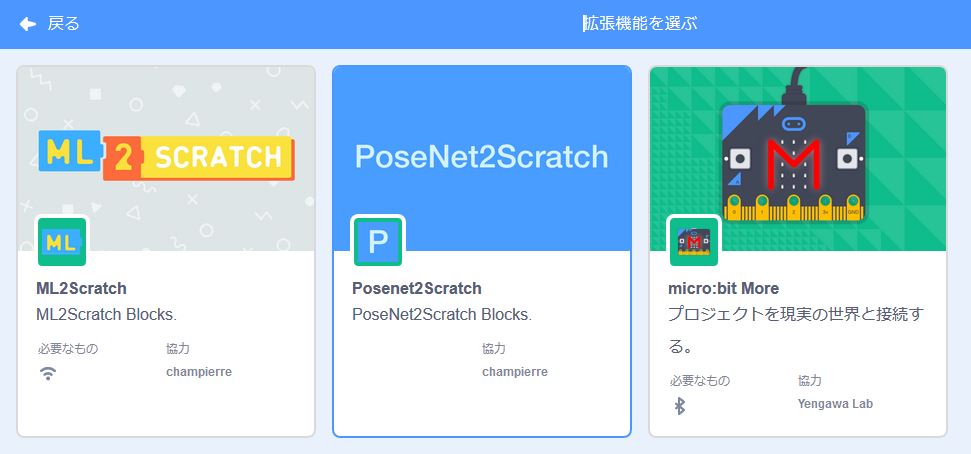
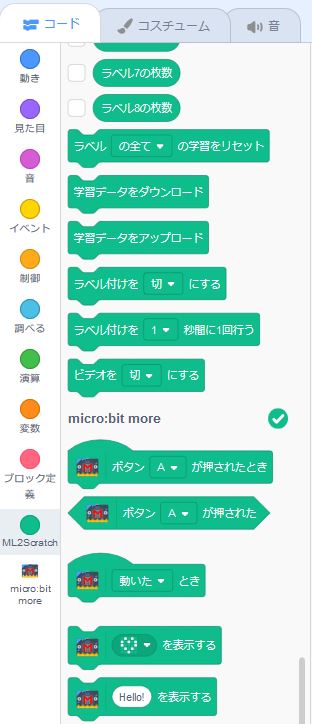
Until now, the two could not coexist, but recently, two people have collaborated to use the extended function of “Scratch-microbit-more” in the development environment of “ML2Scratch”, and machine learning + physical Computing can now be realized easily.
Please read the above link carefully for each usage.
Parts and materials
・ Web camera
・ Servo motor (SG90)
・ Micro: bit
・ Battery box (For three AAA or three AA)
・ Structure(I use LEGO blocks, but anything can be use, ex.cardboard )
・ Cardboard (for table on which coins are placed)
・ Cellophane tape, double-sided tape
・ Lead wire with alligator clip
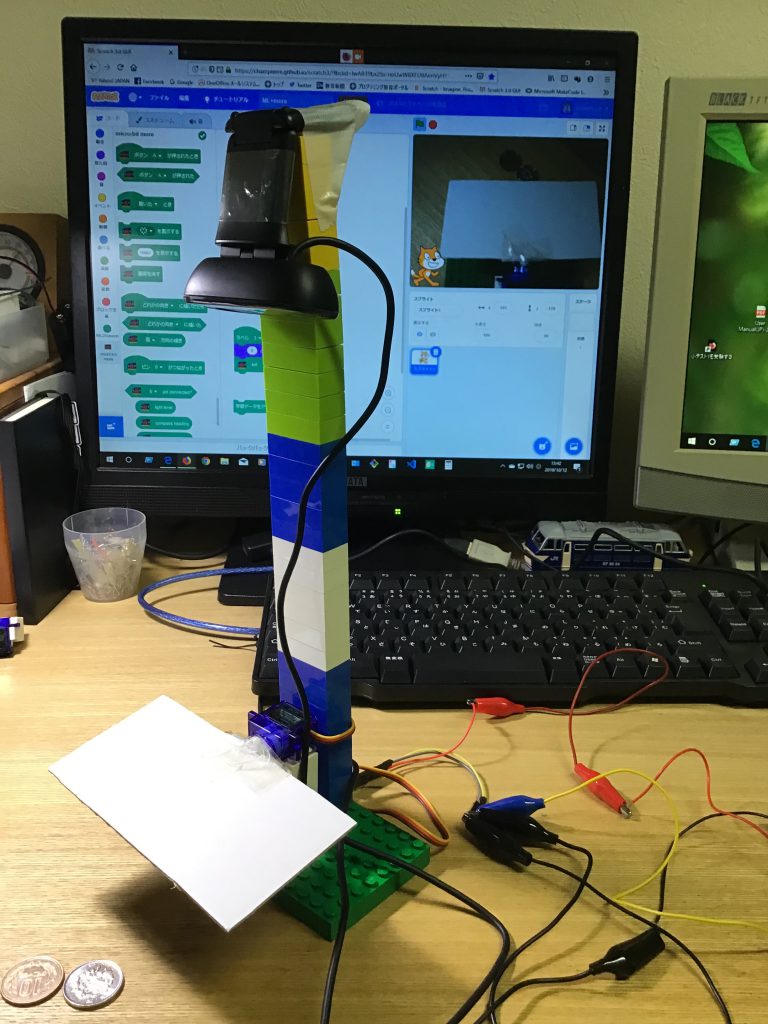
The whole structure looks like this.
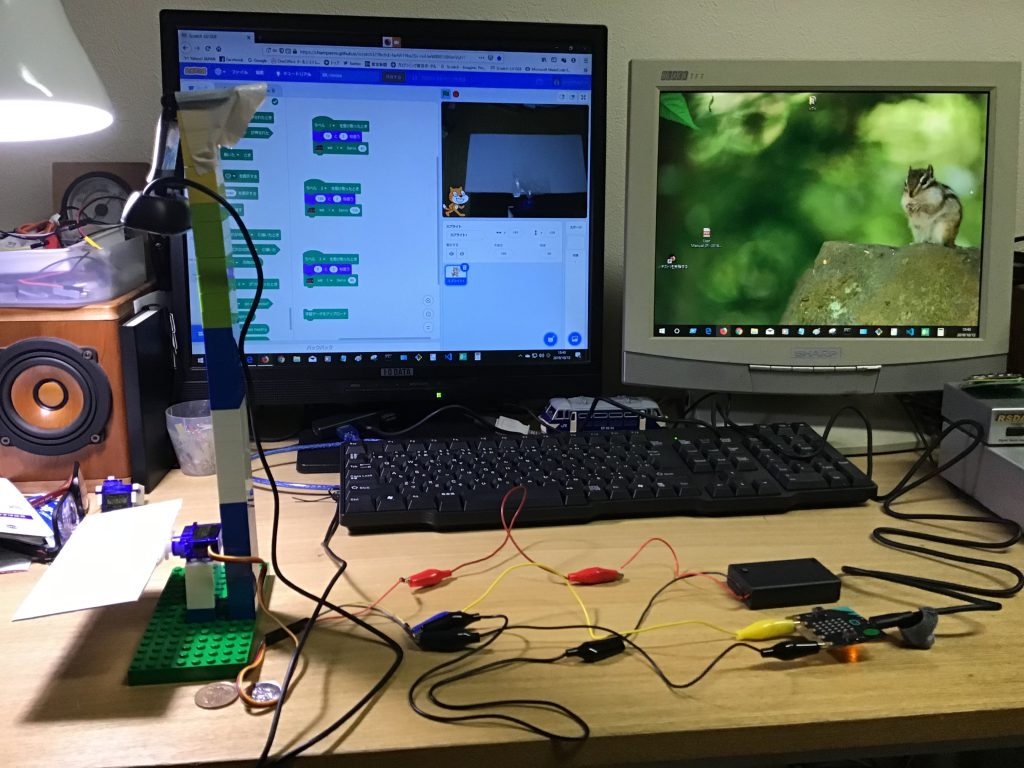
Structures.
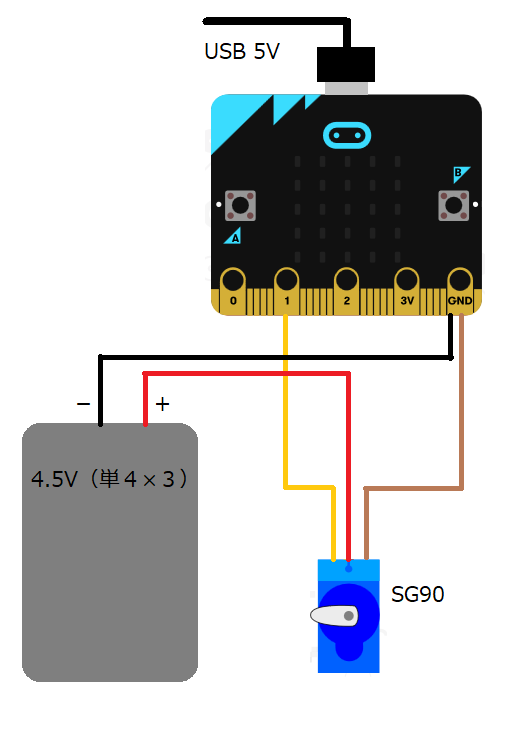
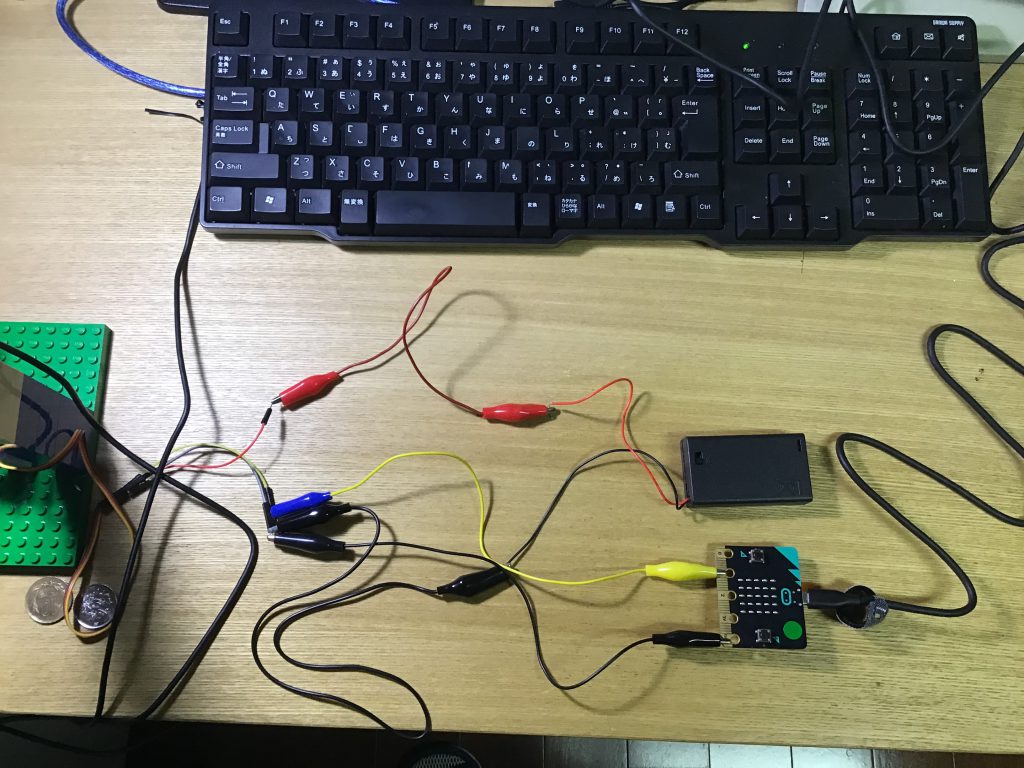
For wiring, separate the servo power supply from the micro: bit. The micro: bit power can be supplied from the USB port. Connect both the negative side of the battery and the servo ground (brown wire for SG90) to the micro: bit GND terminal.
Once the system is assembled, let ML2Scratch learn the coin image.
Use labels 1 to 3 to learn 3 different states.
Label 1 = 10 yen
Label 2 = 100 yen
Label 3 =without coins
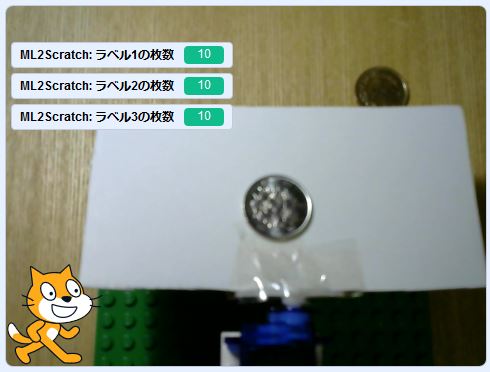
First, place a 10-yen coin on a cardboard table, and click the “Learning Label 1” block while it is displayed on the screen. If you check the “Number of labels 1” check box, the number of clicks on the stage will be displayed. Click and learn about 10 times while turning the coin over and changing the direction.
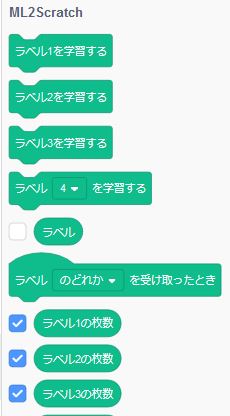
In the same way, it will learn about 100 yen coins with label 2 and nothing about label 3 about 10 times.
When you are done, click “Download Learning Data” and save it to a file. The current ML2Scratch will reset the learning results when the program ends, so the next time you upload the saved learning data.

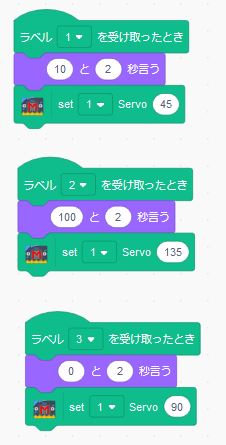
When you ’re done learning, test it. In the “When label 1 is received” block, you can define the action when 10 yen is recognized. The same applies to labels 2 and 3.
In this example, when there are no coins, set the servo angle to 90 degrees (table horizontal position) with micro: bit more, tilt the servo angle to 45 degrees when it recognizes 10 yen, and 135 degrees when it recognizes 100 yen I try to tilt.
ML2Scratch cannot automatically save the program to the cloud, so the program must be saved to your computer from the file menu.
